Love our Tiara Headbands and Vines…
DIY Weddings: Spread the Sparkle, Bridesmaid Favours Idea
Fancy creating Bespoke Accessories
Spread some sparkle on your Special Day…
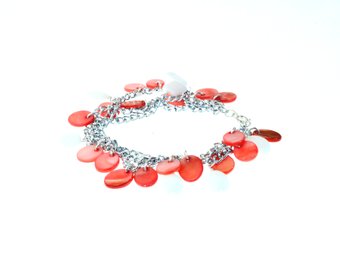
This Post will teach you how to make your own Personalised Bracelets.
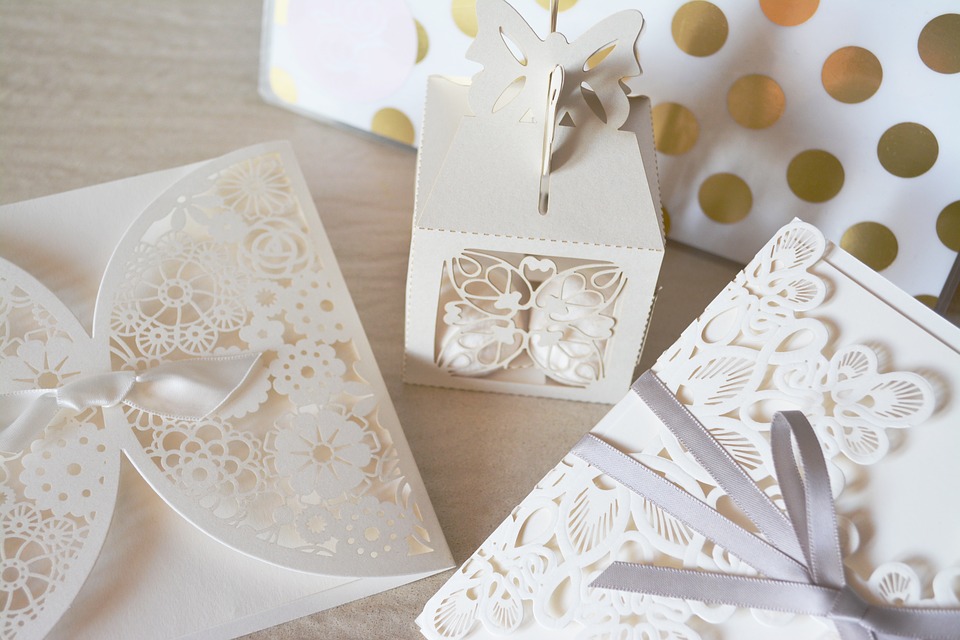
If you are reading this then its more than likely that you already value Bespoke Wedding Accessories. You appreciate Individuality, attention to-detail and quality. You may also be considering whether, or not, to include Wedding Favours into your Budget. Rock my Wedding has some helpful discussion about Budgets and offers Wedding Favour ideas. Well worth the visit to their site.
If you are thinking about including Wedding Favours on your Special Day, especially personalised favours. Making your own Charm Bracelets could be a fun and personal touch. These Charming Bracelets can be customised according to your friend’s taste and interest. You can choose colours that they like, and individual charms that are meaningful to them. These Bracelets are simple, and fun to make. Maybe set aside a weekend, or an evening to make them.
Below, you will find a Bracelet Tutorial to make Personalised Charm Bracelets for your Bridesmaids and other Wedding Guests. This is a unique way to express your love and appreciation of your Bridesmaids on your Special Day. Depending on your wedding budget, you could opt for something more thrifty, like up-cycling your jewellery and re-making them into bracelets. You could also try your hand at Contemporary “found-object” arty bracelets. On the other hand, you may opt for a more opulent option, carefully selecting only the most treasured and personal beads and charms.
Whatever your taste, or budget, the versatility of these bracelets mean you will find something to suit. Hopefully you will find this Tutorial helpful:
Time Estimate: 1 to 2 hours
Equipment
Round Nose Pliers
Chain Nose Pliers
Side Cutters
Beading Mat
Materials
Beads
Headpins
Charms
Jump Rings
7inch Curb Chain/filigree chain
Toggle Clasp/Lobster Clasp
Method
- Measure about 7″ of chain (typical wrist chain length), or place the chain around your wrist to measure and then cut the chain and place it onto the bead mat.
- Select beads and charms and lay them out onto the bead mat, next to the chain and into a pattern or design.
- Next, attach then beads and the charms to the chain. You can do this by using jump rings or headpins.
- To attach a jump ring; use the chain nose pliers and round nose pliers. Push one half of the ring away from yourself and the other side towards yourself. Thread the jump ring with the charm on the chain. Then repeat the process by doing the opposite, closing the ring by pulling one side of the ring towards yourself and the other away from yourself.
- Attach the beads by threading them onto the headpins.
- Create loops at the top of the headpins with the round nose pliers. Place the pliers 2 mm away from the beads turn the pliers 45 degrees to create the shoulder, then wrap the wire around the round nose pliers.
- Cut the excess wire at the point past where the two pliers meet.
- Toggle Clasp: Attach the Toggle Clasp by threading it onto a jump ring. Thread one part on one side of the chain, and then one on the other.
- Lobster Clasp: Attach the Lobster Clasp by threading it onto a jump ring. Then attach a jump ring to the other side of the chain.
- Voila, happy bracelet making!
If you enjoyed this Tutorial and want to learn more about DIY Weddings, you may like this other blog post… https://www.lilybridaltiaras.com/diy-weddings-handcraft-a-simple-set/